Getting Started
Start exploring the Faraway Developer Portal by creating your Faraway Account, setting up your Organization, and creating your first Project
Create Developer Account
To access the Faraway Developer Portal, you must:
-
Create a Faraway account or
-
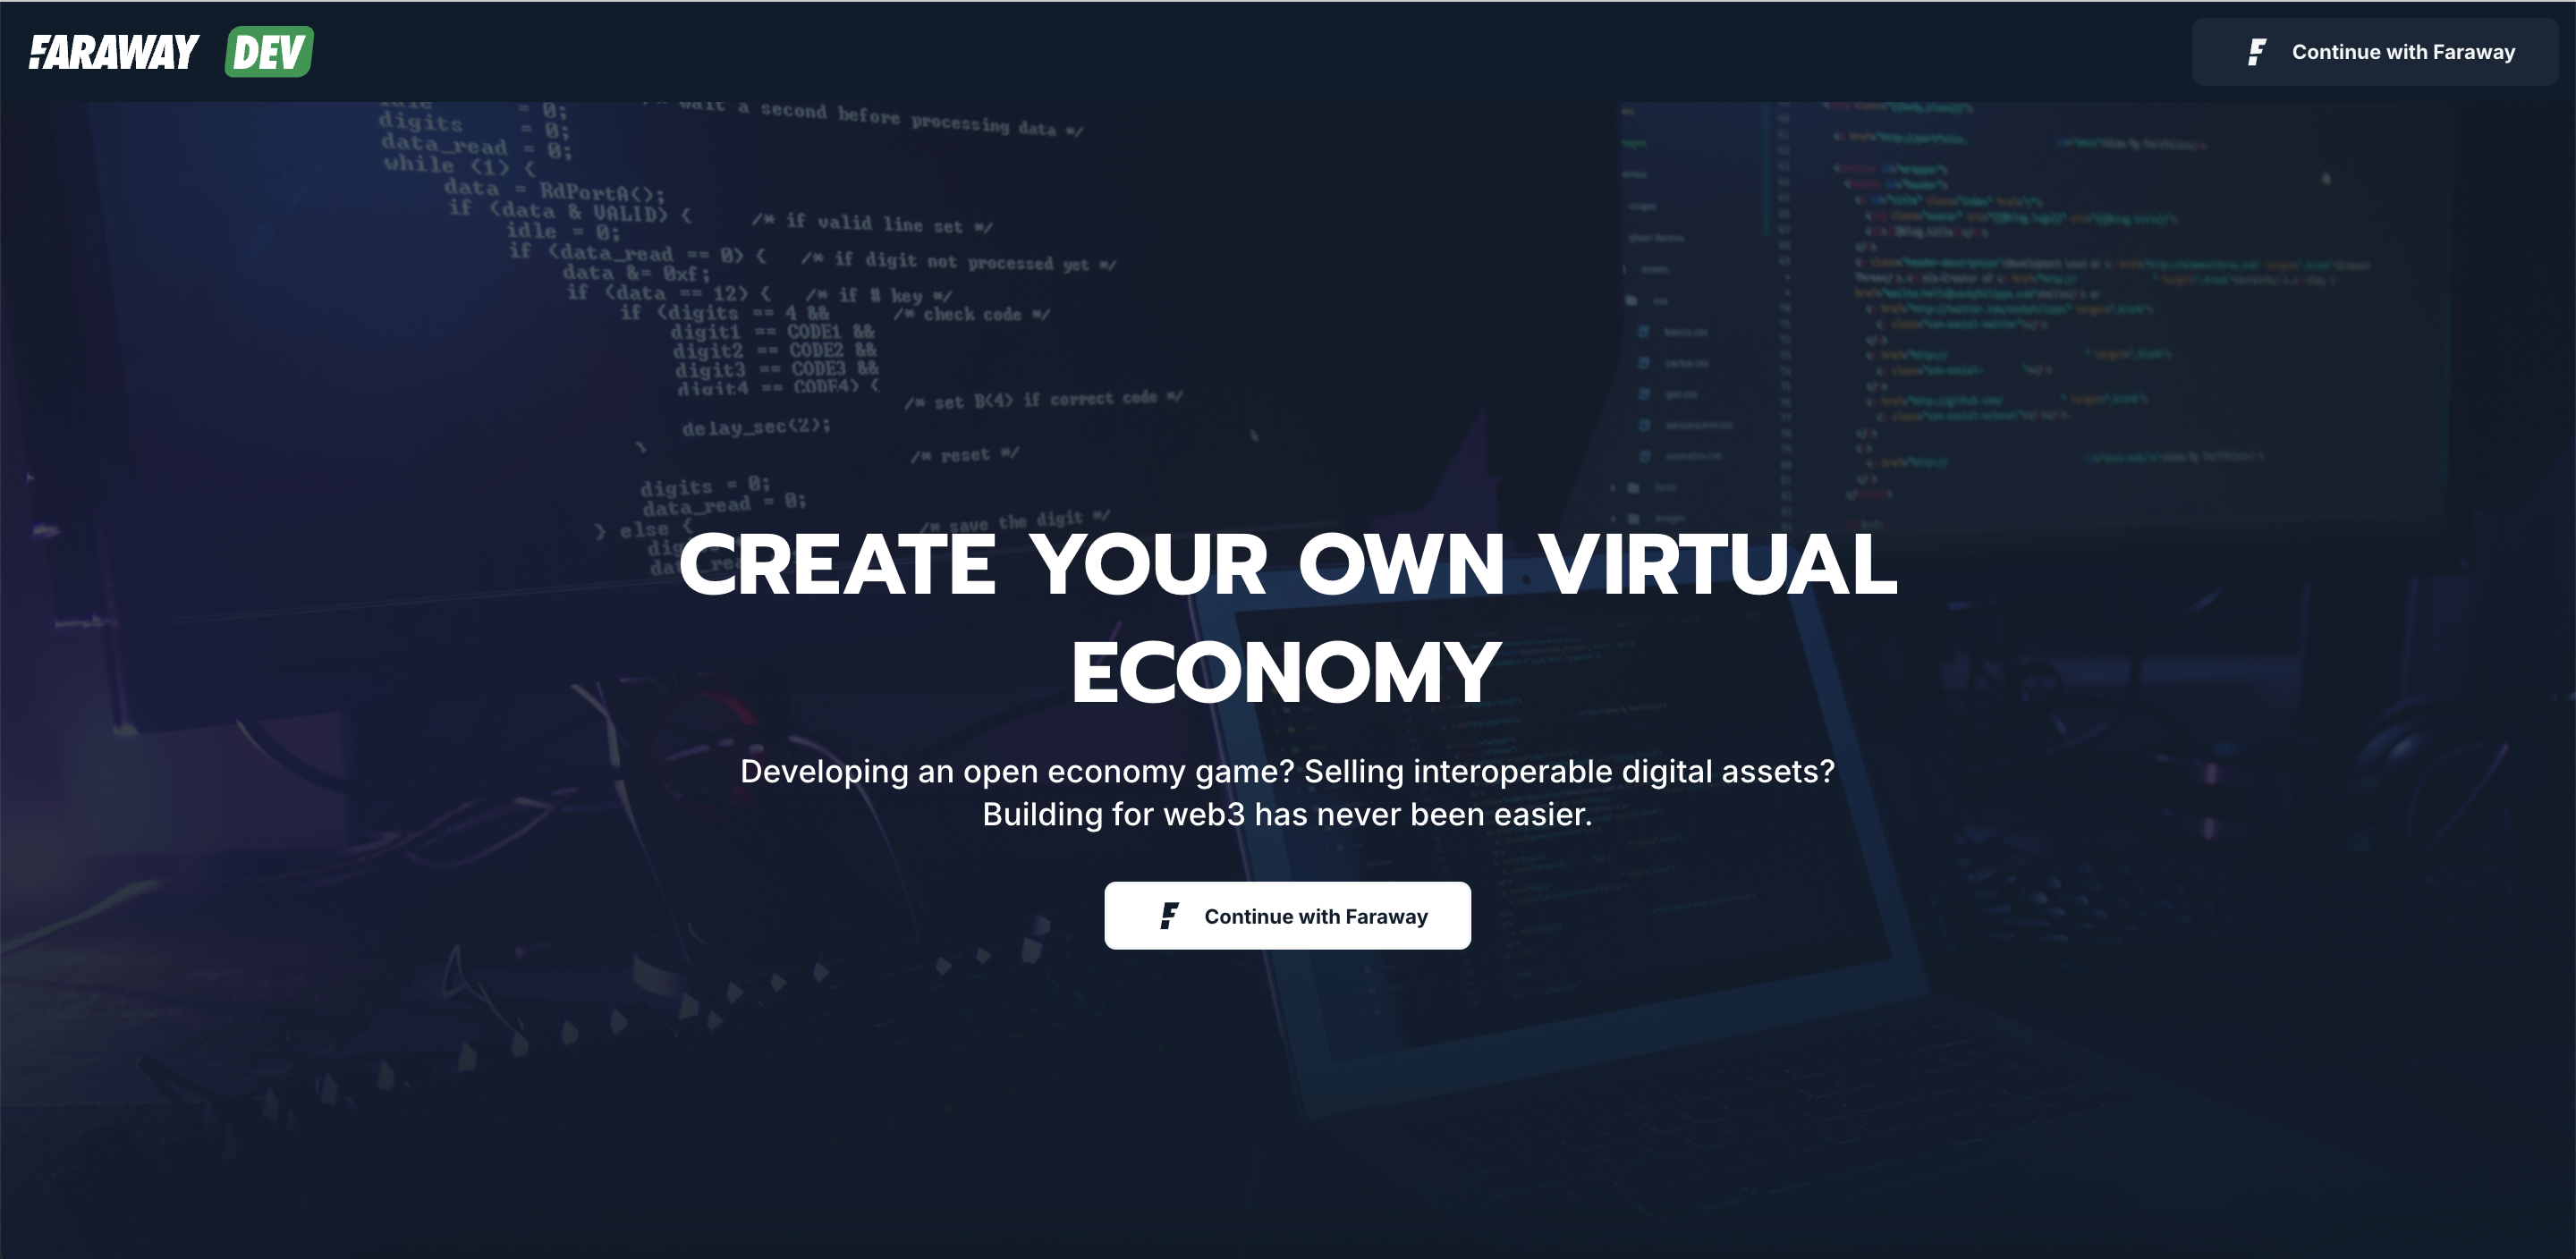
Log in to your existing Faraway account by clicking the Continue with Faraway button in the top right
Account Creation Methods
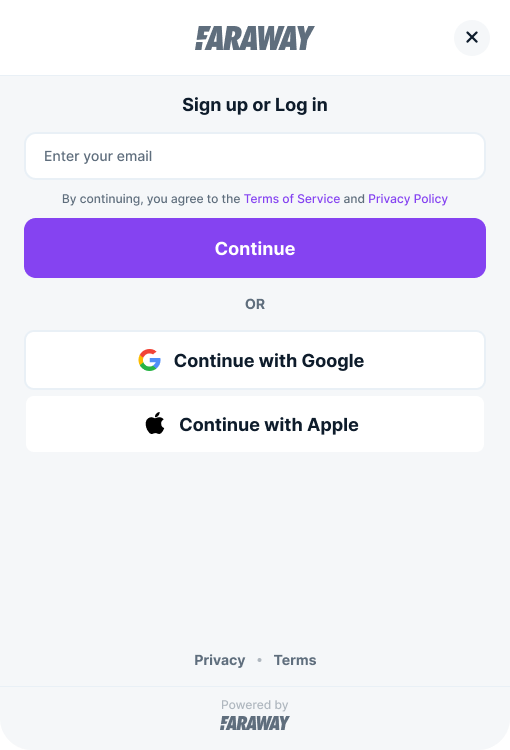
You can create a Faraway account using one of the following methods:
-
Email Registration:
- Enter your email address on the Faraway Connect page
- A verification code will be sent to your email
- Enter the verification code to verify your email and complete the registration process
-
Google Authorization:
- Select the Continue with Google option to use your Google account for registration
-
Apple Authorization:
- Select the Continue with Apple option to use your Apple ID for registration
Adding or Changing Login Methods
Faraway allows you to add additional login methods to your account:
- If you registered via email, you can later link your account to Google or Apple for additional login options
- If you registered via Google or Apple, you can add an email address to your account later
To manage your login methods, navigate to the Faraway ID page or open Account Management from the Developer Portal. We always recommend having at least two login methods added to your account.
Your Organization
Default Organization
When you login to the Developer Portal for the first time, a default Organization is automatically created for you to get you started testing the Faraway Platform.
Switch Organization
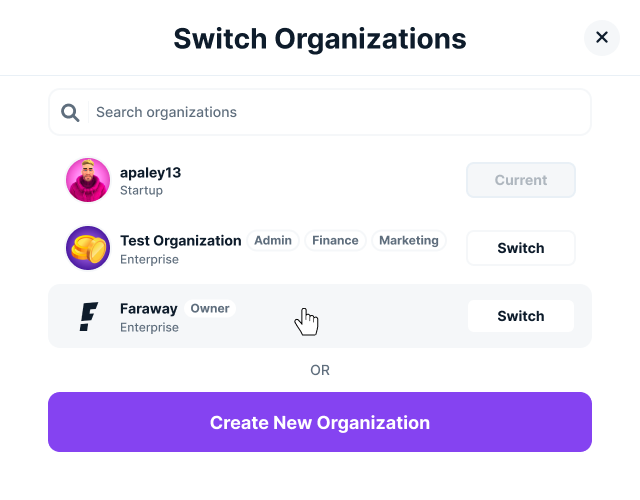
If you’ve joined multiple Organizations using the same Faraway account, you can easily switch between your accounts associated with each Organization. Click your avatar on the top right to open the menu, then click Switch Organization and choose the Organization you want to switch to.
Create a New Organization
To create a new Organization for your team:
- Click your avatar in the top-right corner to open the menu.
- Select Switch Organization, then click Create New Organization
- Fill in the required details:
Required Details for Creating an Organization
-
Organization Name:
- Must be between 4 and 50 characters
- Use Latin letters, numbers, and special characters
- The name will be visible to your team members when you invite them to join the Organization
-
Organization Logo:
- An image with a resolution of 600x600 pixels
- The logo will be displayed when inviting team members to the Organization and for easy switching between Organizations in the Developer Portal
-
Organization Description:
- Provide a description that helps your team understand the purpose of the Organization
- This description can also be used in marketing material
-
Contact Email:
- Required for communication with your Organization regarding developer updates and important announcements
- Notifications about your project’s status will also be sent to this email
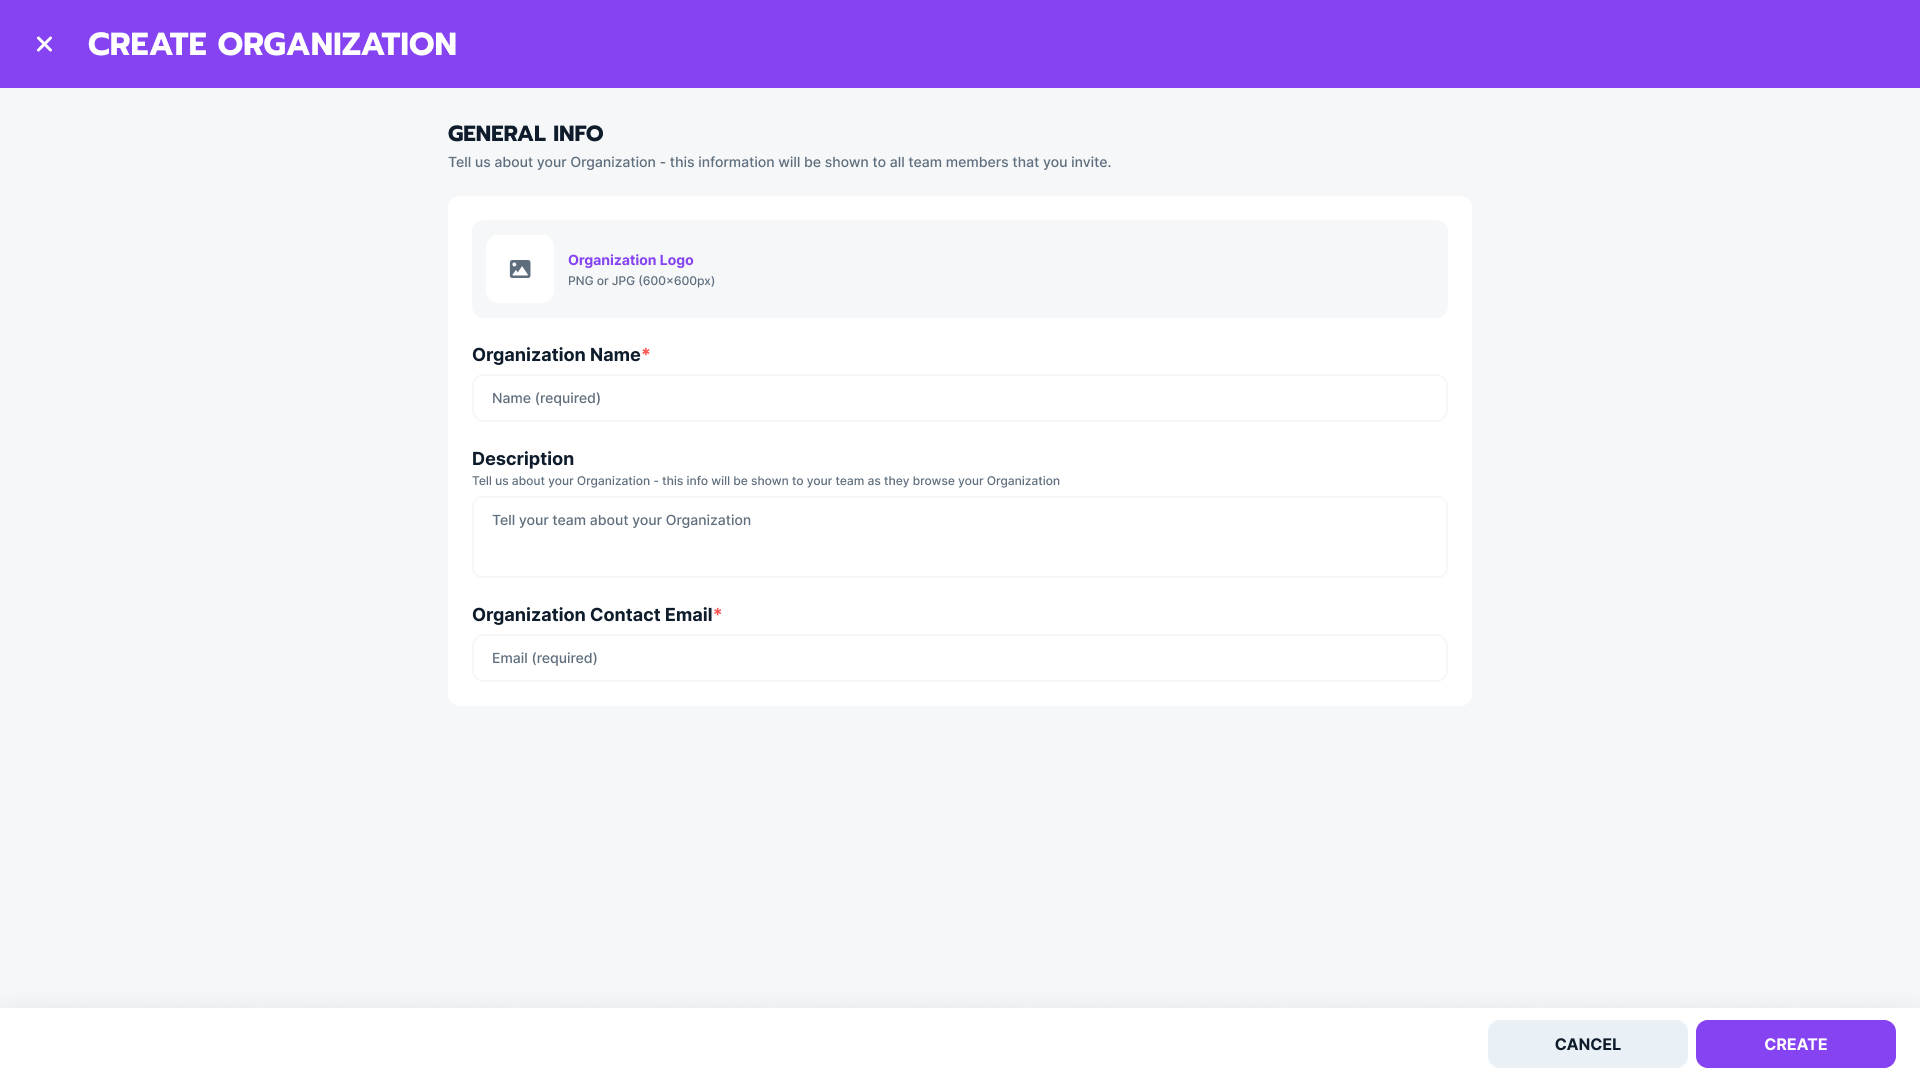
Note: All fields can be modified later in the Organization Settings page of the Developer Portal
Your Projects
Create a Project
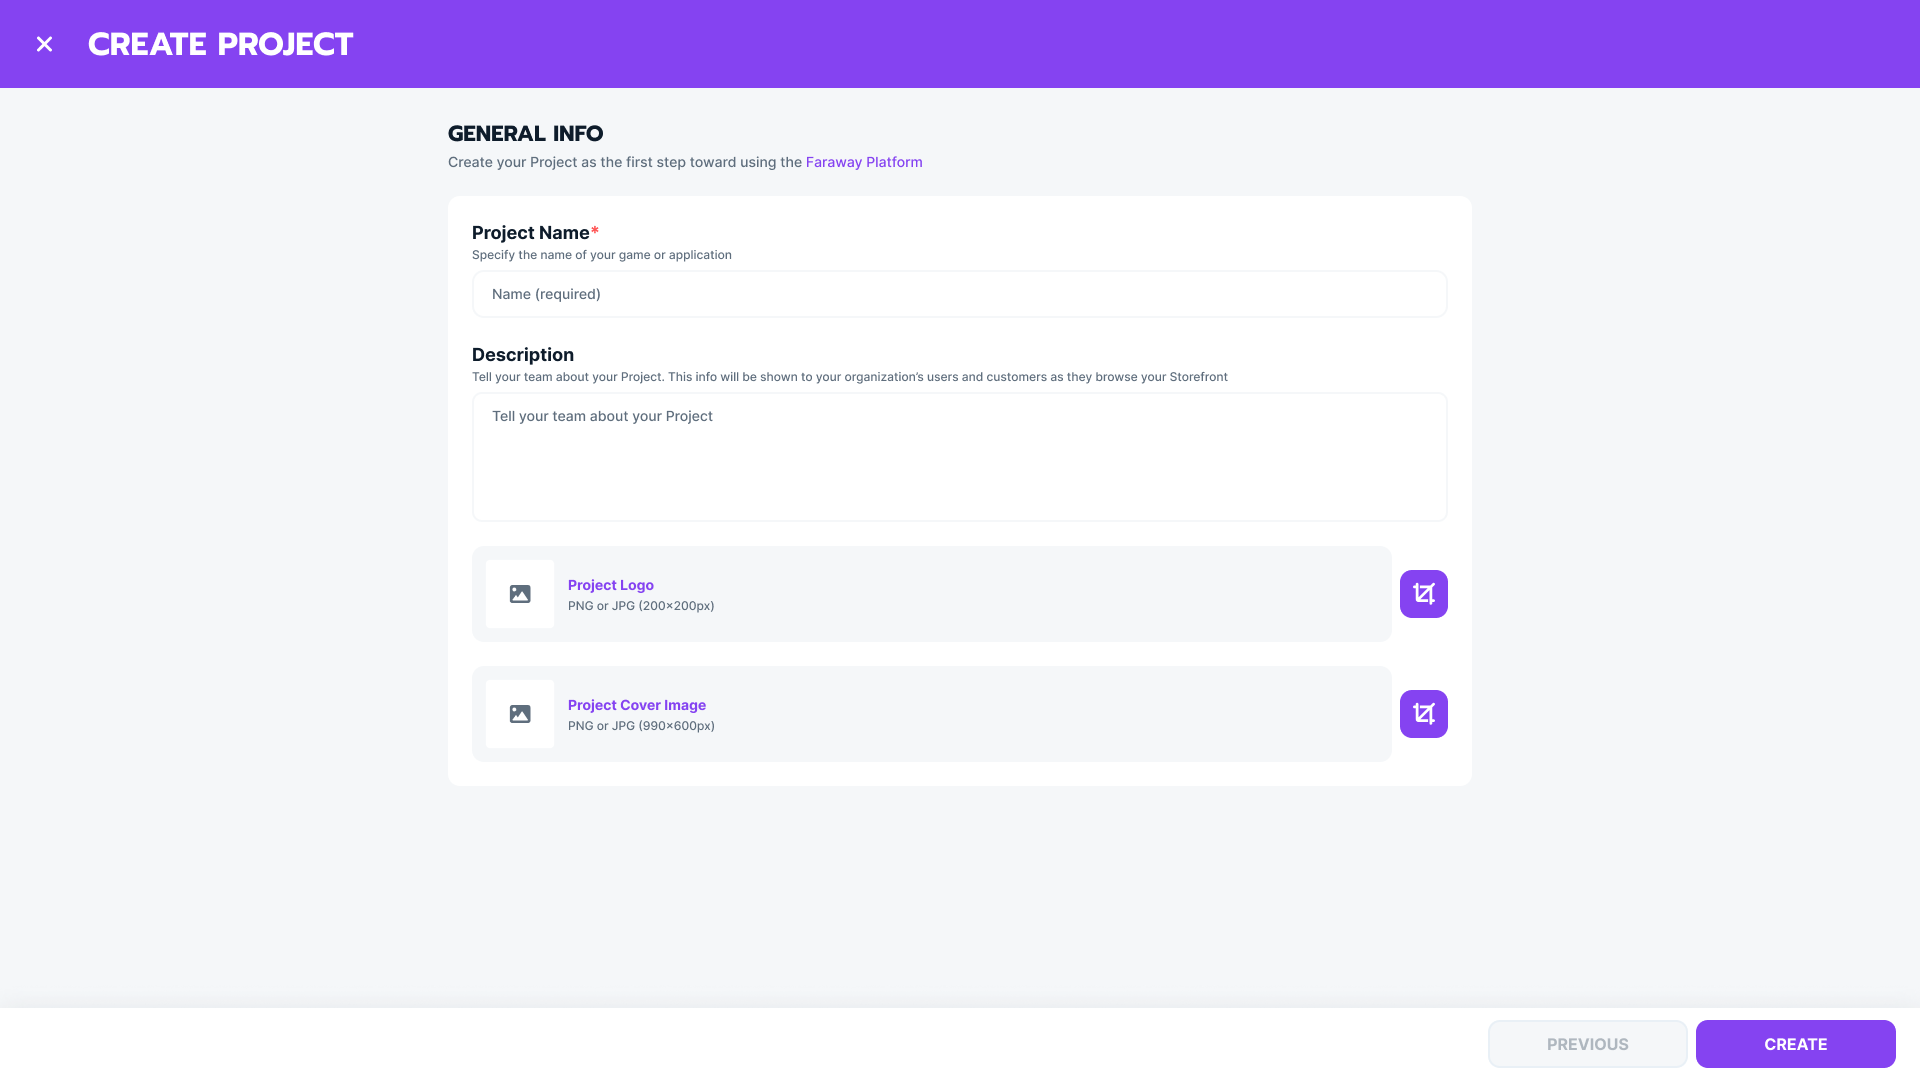
After creating or joining an Organization, the next step is to create a Project - essentially, the name of your game. To create a Project:
- On the Home page, click Create Project.
- Provide the required information to start deploying your game onto the Faraway Platform
- You can create as many Projects as you need
Required Information for Project Creation
-
Project Name:
- Must be between 4 and 60 characters.
- Use Latin letters, spaces, numbers, and special characters.
- The project name is used for:
- Marketing activities, such as promoting your project across other products in the Faraway ecosystem (e.g. Faraway Shop, PR and socials, etc.)
- Email notifications, for example, when users perform actions within your project and you send transaction receipts
- Internal identification within the Developer Portal.
-
Project Description:
- A brief description of your project.
- Used in marketing activities to promote your project.
-
Project Logo:
- Image with a resolution of 200x200 pixels.
- Used in marketing materials to visually represent your project across ecosystem products.
-
Project Cover:
- Image with a resolution of 990x600 pixels.
- Used in marketing materials as a prominent visual representation of your project within Faraway ecosystem products or communications.
Note: All provided information can be edited later in Project Settings. Learn more about managing your project general info here
Publish a Project
In order to fully utilize the Faraway Platform and begin deploying your Collections, you first must publish your Project.
Prerequisites for Publishing:
- Complete the required Project General Information.
- Specify the Callback URL and OAuth URL.
- Create at least one API Key.
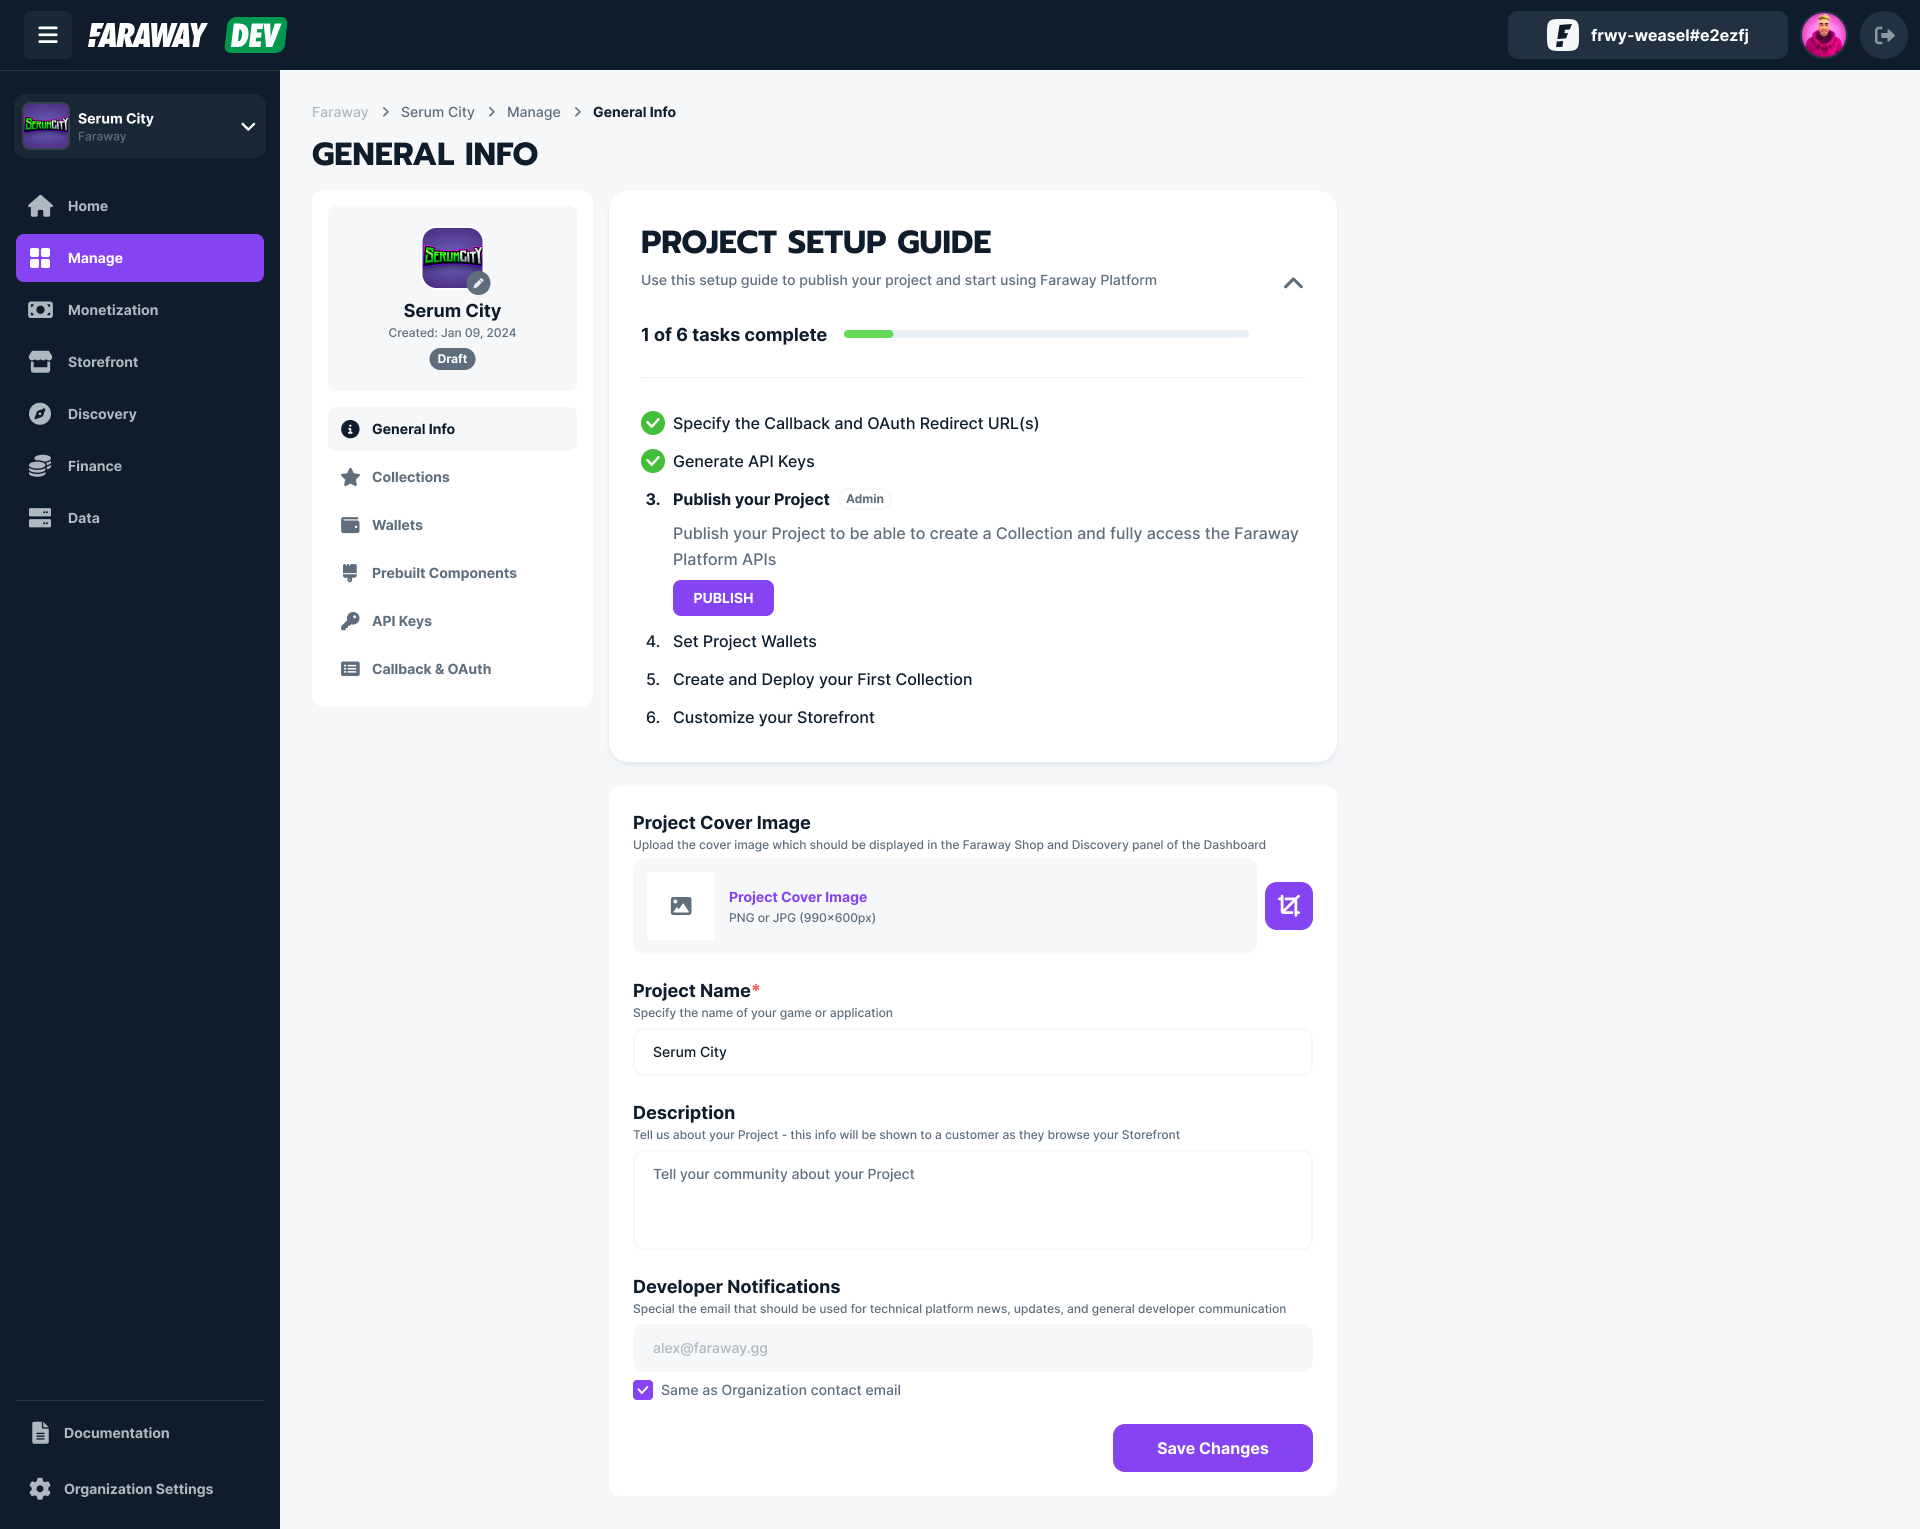
Steps to Publish Your Project:
- Click on the Manage section in the navigation sidebar.
- Navigate to the General Info section.
- Open the Project Setup Guide.
- Ensure that tasks for Callback & OAuth and API Keys are marked as Done.
- Click the Publish button to confirm and activate your Project.
Note: Only users with Account Owner or Admin roles and permissions can create or publish a Project.
Switch Between Projects
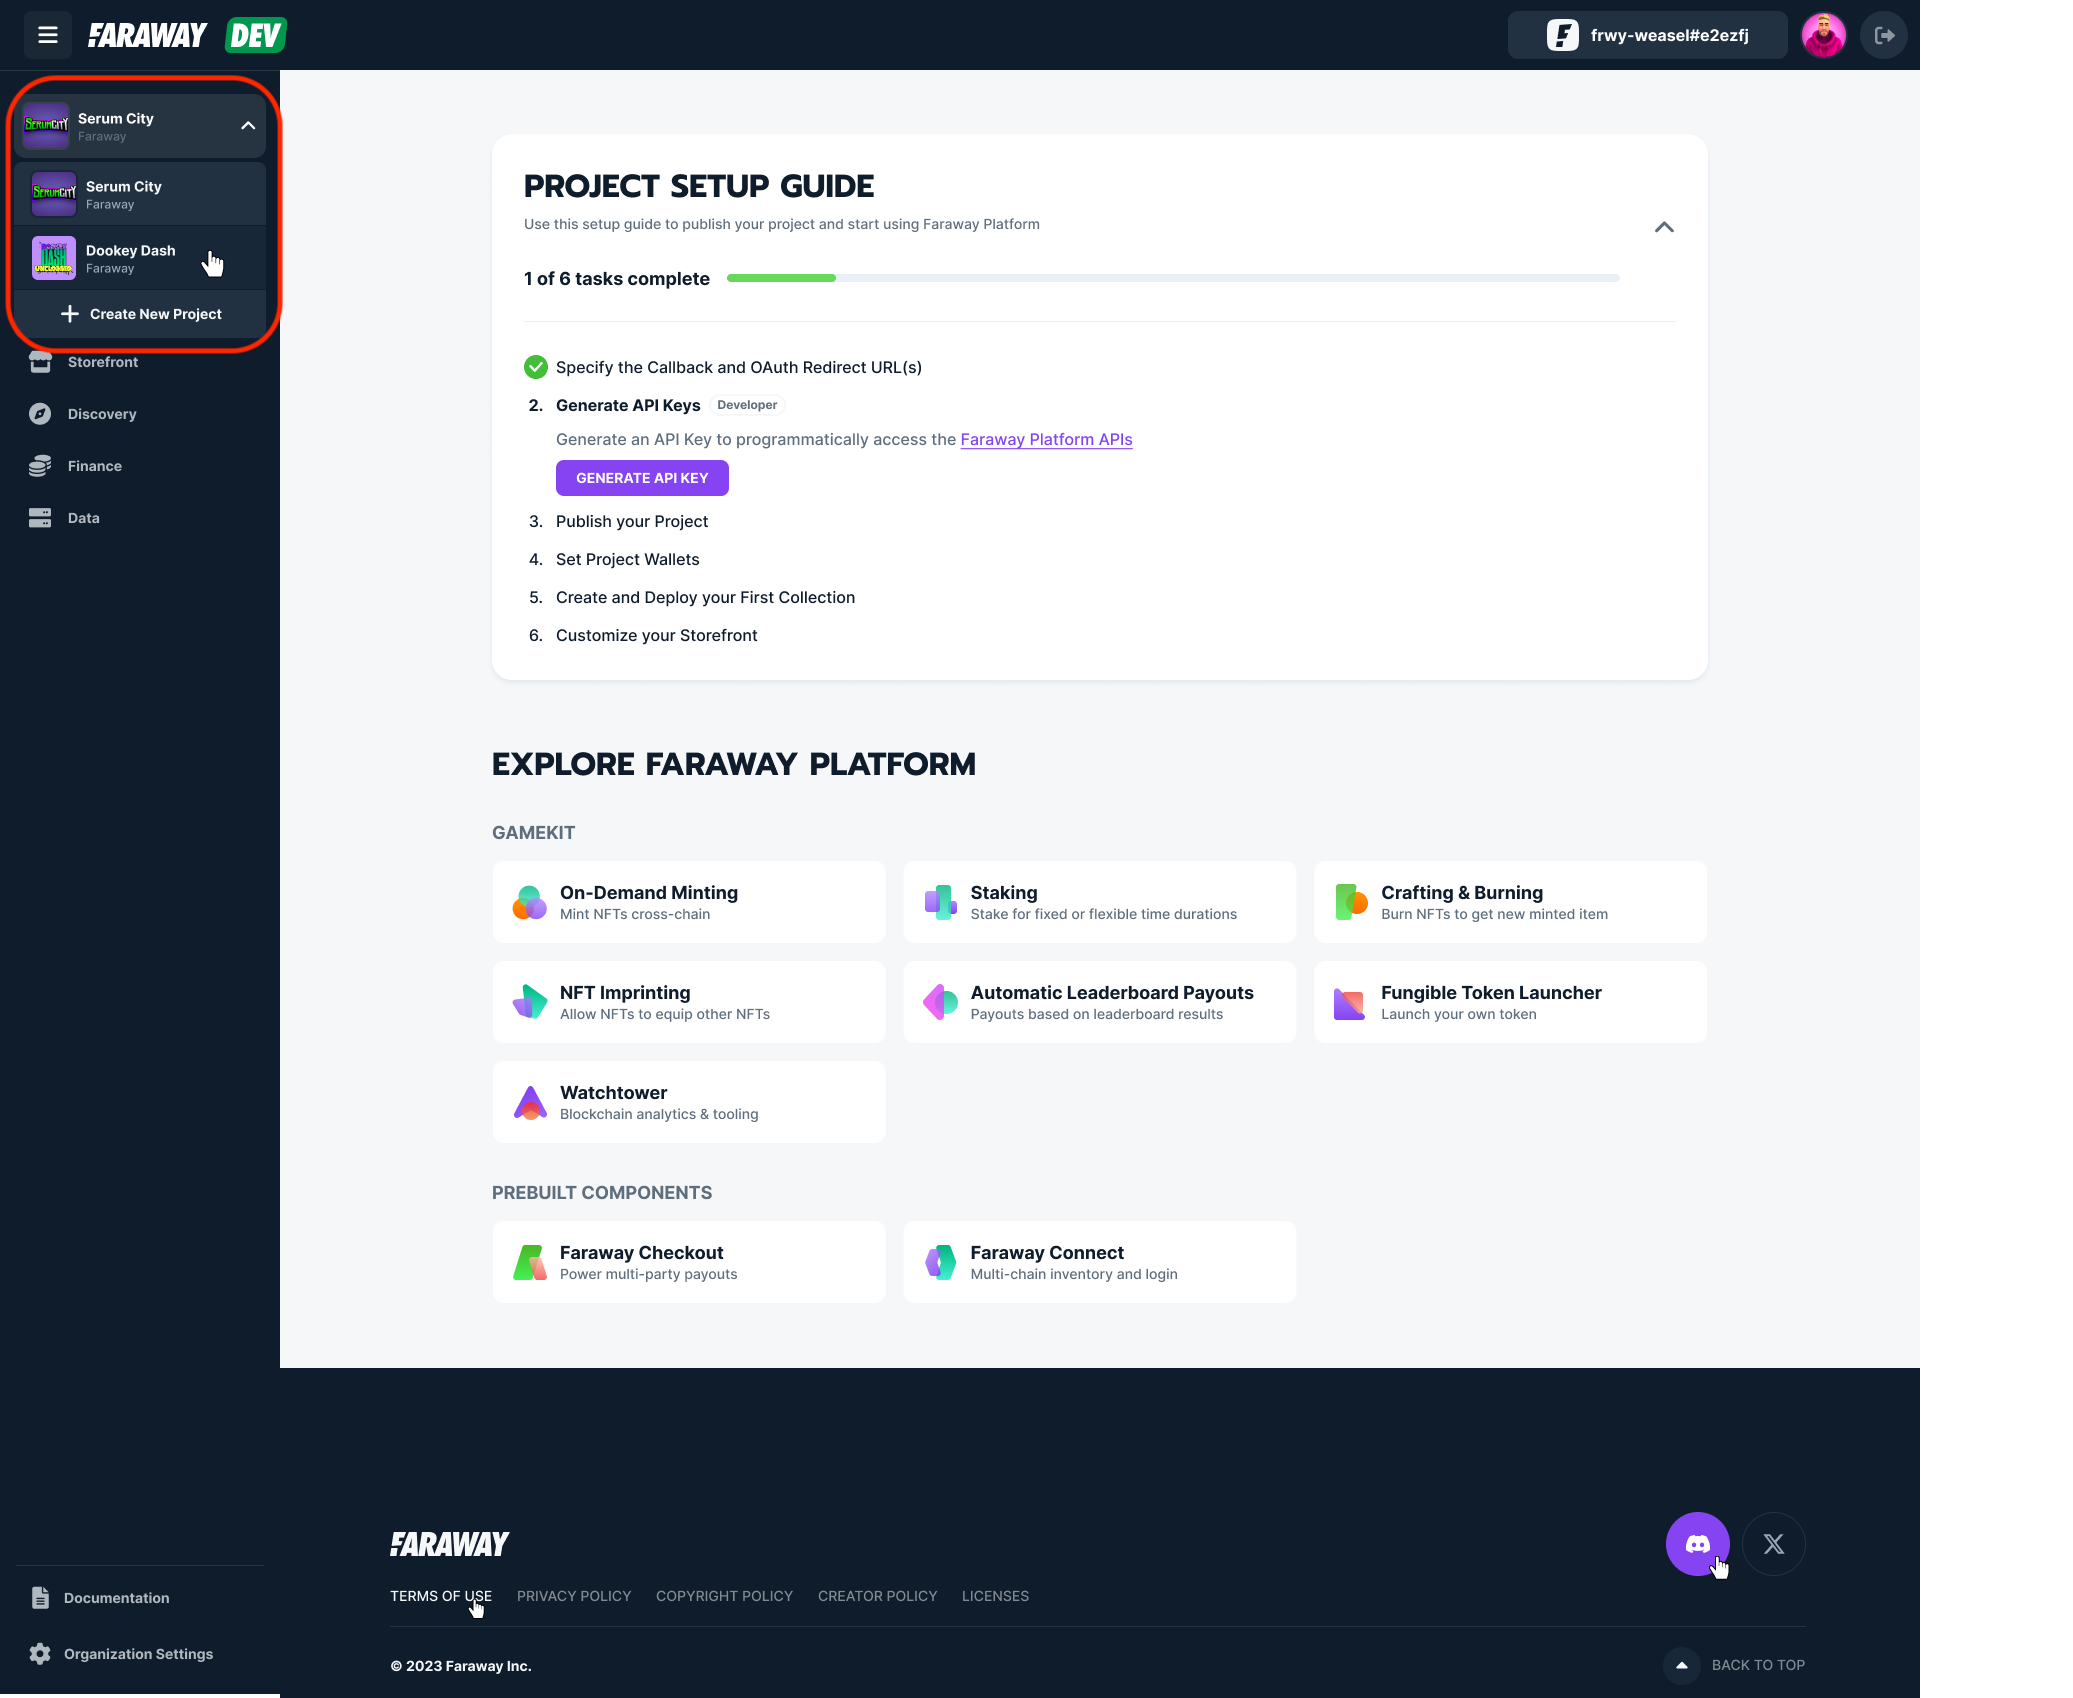
If you’ve been invited to multiple Projects within the same Organization, switching between them is easy:
- Click the Project Dropdown at the top of the left sidebar.
- Select the Project you want to manage.
Updated 8 months ago